how to fix radiator leak

A Guide To Fixing A Leak In A Radiator
There aren't many things that can go wrong around the house that are as annoying as finding a patch of wet carpet or a pool of water around the bottom of a radiator – okay, maybe puppy training runs it close. . .
But puppies aside, in this blog we'll look at how you can fix a leaky radiator and minimise any damage to carpets and floorboards.
The following tips should give you the tools you'll need to identify the source of any radiator leak and get it repaired quickly before any major damage is done to your property.
Prepare to Fix a Leaky Radiator!
Before you begin it's best to prepare for the worst case scenario – water pouring out of your radiator.
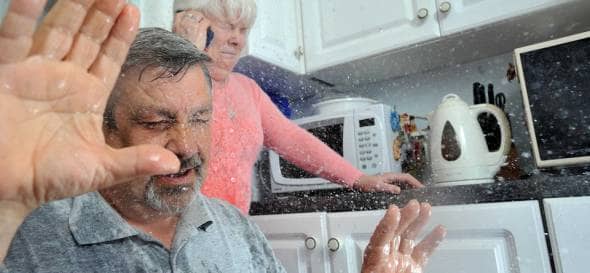
Put some towels or another absorbent material on the floor around the radiator and have a large bucket to hand to catch as much water as you can.
Now you're ready to get fixing your radiator leak.
How To Find The Source Of Your Radiator Leak
Take one of your towels and completely dry the surface of your wet radiator.
This will give you the chance to find the water leak – it's very difficult to find the source of any leak if the radiator is totally saturated.
Once your radiator is dry you should be able to isolate the source of the leak quite easily.
Take some toilet tissue and systematically check each fixture (or union) on the radiator one-by-one: this should help you to understand where the leak is coming from.
Radiator leaks come from one of three places – the body of the radiator itself, the bleed point, valve or tail and the pipe that fills the radiator with water.
Is Your Radiator Valve Leaking?
A leaky radiator valve is normally one of the easiest types of leaks to fix.
A leaking valve normally occurs when the spindle packing contained within the valve starts to wear out or becomes damaged.
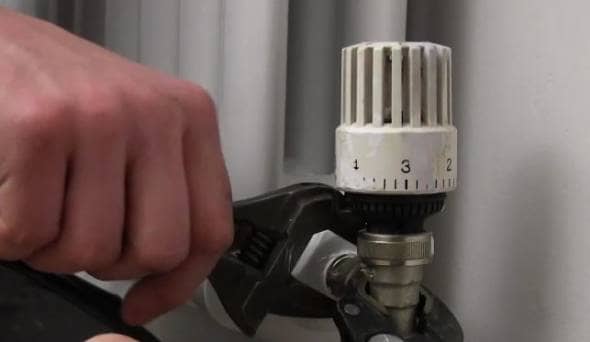
This type of leak will normally occur when the valve is in a 'mid-open' position – the leak will normally stop when you fully close the valve.
How To Repair A Leaking Radiator Valve
- To repair a leaking rad valve you will first have to drain down the system to below where the leak is occurring.
- Turn off both the supply valve (where the water enters the radiator) and the lockshield valv e (the plastic capped valve at the other side of the radiator) – remember to count how many turns it takes to close the lockshield valve.
- Get your towels and bucket ready to catch any remaining water that may escape from the radiator.
- Using an adjustable spanner, undo the union nut (the one between the feeder pipe and the radiator).
- Open the bleed valve to allow the rest of the water to leave the radiator and go into the bowl.
- Starting at the male end of the valve tail, wrap carefully with PTFE tape between 10-15 times.
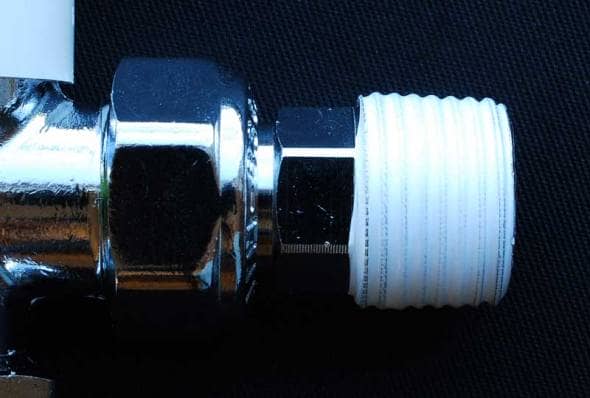
- Re-tighten the union nut and open the bleed and lockshield valves (remembering how many times you turned it before to close it).
- When the water is restored to the system, re-check for any leaks and then close the bleed valve.
Do you need to replace a radiator valve?
Before replacing a radiator valve you'll have to purchase a replacement : preferably the same type as your existing valve – a different kind may not properly align with the water pipe in the same way.
Once you have a new valve you'll need to drain all of the water from your central heating system . Unscrew the nuts connecting the water pipe to the valve and then unscrew the valve to replace it.
Clean the threads at the end of the radiator before installing the new valve.
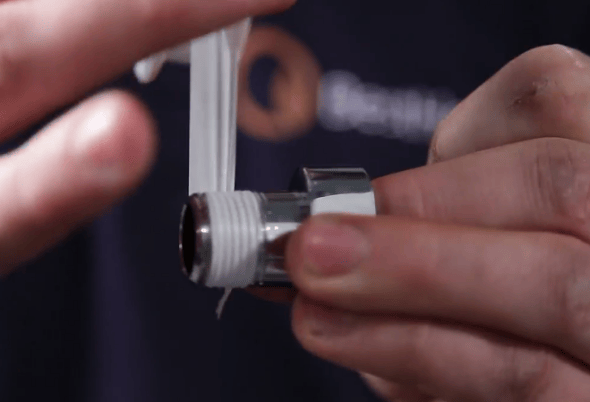
Wrap PTFE tape around the threads of the new adapter (see above) and screw it into the end of the radiator, be sure to not overtighten and damage the fixing.
Slide the valve cap-nut and a new olive over the end of the pipe and connect the new valve.
Once the new valve is in place you'll need to refill the system and bleed your radiators to remove any air.
Be sure that you carefully check the site of the fitting for any leaks.
Tips on replacing and installing a radiator valve can be found in the video below.
Is Your Radiator Leaking From The Spindle?
A radiator with a damaged spindle – that's part of the connection between the pipework and the radiator – can sometimes be the main cause of a leak and thankfully, it's easily remedied.
Using a spanner, tighten the gland nut and see if the leak subsides. If this fails, undo the nut and wind some PTFE tape down into the spindle (see below) before tightening back up.
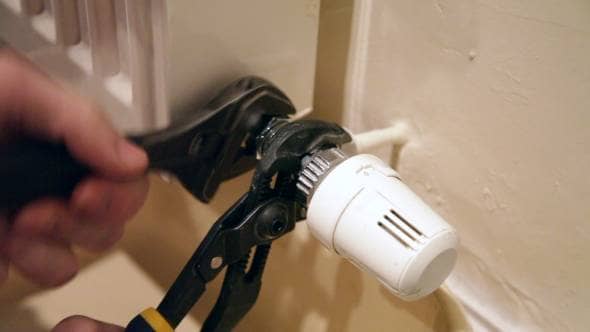
If this still doesn't stop the leak, you may have to drain down the system and replace the valve –failing that, it's probably a good idea to call a plumber.
Is The Radiator Valve Or Gland The Cause Of The Leak?
Often, a leak at the radiator valve coupling nut can often be fixed by simply retightening the coupling.
If this fails, you'll need to replace the olive inside the coupling.
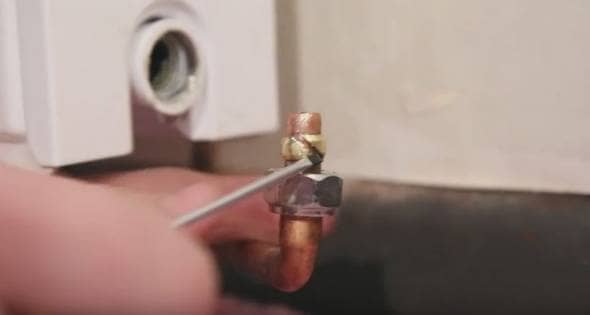
To do this you have to drain the heating system of water and then loosen the nut between the leaking pipe and the radiator.
Remove the nut and the fitting and take the olive off the pipe and replace with a new one – smearing with silicon sealant or winding it with PTFE tape before reconnecting. If this doesn't work then you will probably have to replace the radiator valve altogether.

How To Repair A Leaking Radiator Gland
Sometimes you may find that your radiator is leaking from under the plastic cap of the valve – the gland.
If this is the case, it can be fixed quite easily with PTFE tape.
- Firstly, turn off the valve
- If the water is still coming out of the radiator from under the plastic cap, you will need to turn off the lockshield valve at the other end of the radiator

- Remove the plastic cap and gently unscrew the gland nut with an adjustable spanner, taking care to not damage the nut.
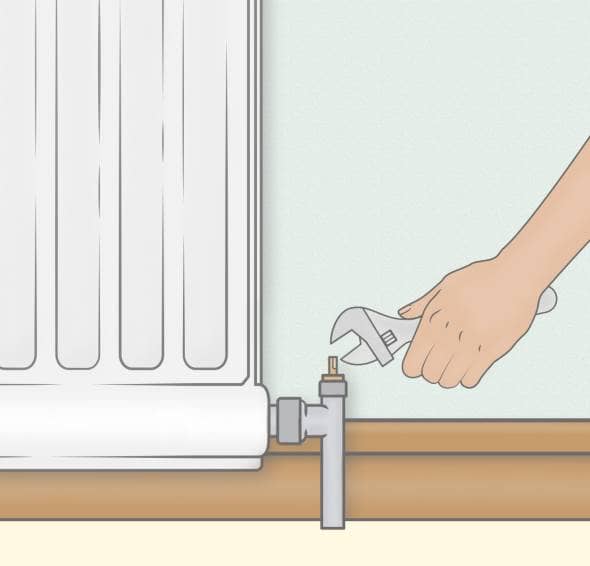
- Stretch a length of PTFE tape (about 20cm long) into a string and wrap it around the spindle of the valve – that's the little bit sticking up.
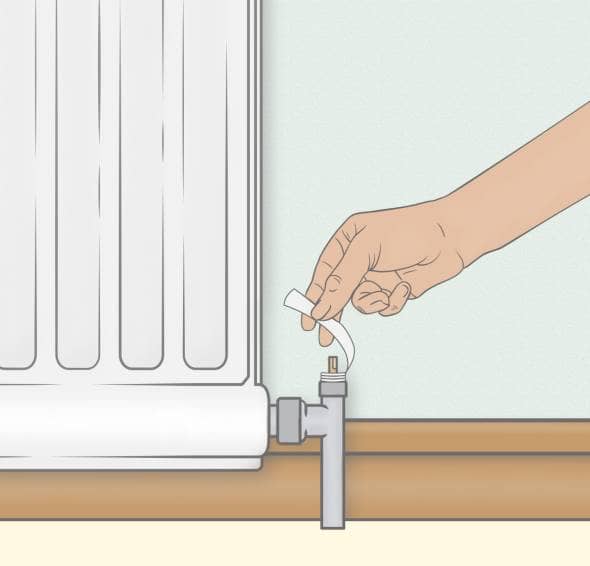
- Using a small flat-headed screwdriver, force the PTFE tape into the body of the valve.
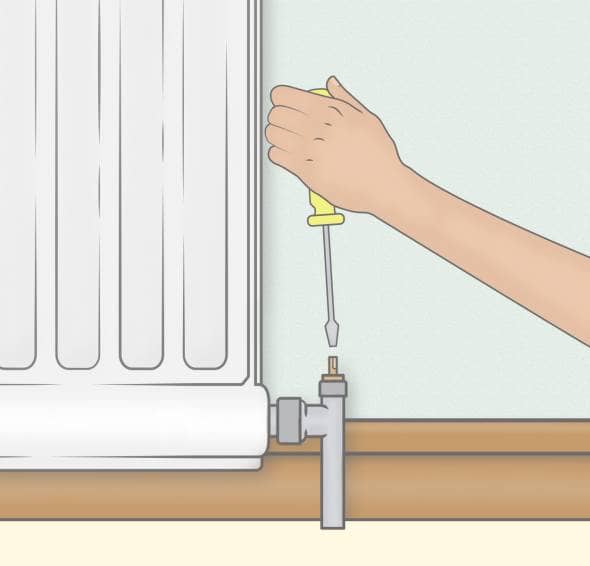
- Apply a little silicone grease to the tape and screw the gland nut back on tightly.
- Finally, replace the plastic cap and turn the valve back on.
Is Your Radiator Leaking Because Of Corrosion?
As with everyone and everything everywhere, stuff gets old – and your radiators are no different.
The main culprit of radiator corrosion is sludge building up inside your rad and effectively causing it to rot from the inside out – this kind of radiator leak is more commonly known as a pinhole leak.
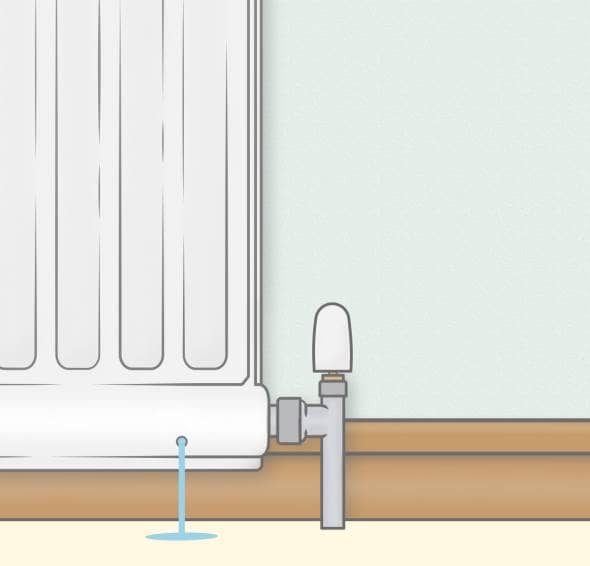
Sadly there isn't really any hope of 'fixing' a leak caused by corrosion, but there is a temporary measure you can take.
If you have a feed and expansion tank – two water tanks in your loft that maintain the level of water in your system – adding a plastic resin sealant will stem the flow until you can purchase a replacement radiator.
Note – You must NOT use this type of sealant in a sealed central heating system!
If your radiator is corroding and a leak occurs, regardless of any temporary measures you take, you will have to get a new radiator: thankfully, we stock a few .
When you have replaced your leaky old radiator with a shiny new one, be sure to add a rust and corrosion inhibitor to the water; this will ensure that the problem doesn't pay you another visit a few years down the line.
How To Repair A Leaking Pipe Joint
In a modern central heating system compression valves are normally used to join the pipes to the radiators.
If one of these joins springs a leak, it is possible to perform a quick fix by tightening the valve with a spanner.
However, if this doesn't solve the problem and the leak persists, you can perform the following bit of maintenance –
- Drain down the system to below the source of the leak.
- Take a spanner and undo the nut at the joint of the leaking pipe and pull the pipe free.
- Where the face of the olive meets the joint, wrap a couple of turns of PTFE tape around and then re-tighten the nut.
And If You Don't Fix Your Leaky Radiator?
Regardless of what you do, sometimes it's best to call in the professionals and get them to do the leak fixing for you.
The last thing you want to do is make a minor problem worse by fiddling with something that you shouldn't.
For more hints and tips on all things home heating, subscribe to our YouTube channel , like us on Facebook and follow us on Twitter .
Good luck with that leaky radiator, stay safe and happy heating!

John trained in journalism before finding his way to the BestHeating Advice Centre team. He uses his journalism skills to meticulously research heating topics and bring you the latest news and views on all things home heating related. He'll also beat you at any sport that involves a cue!
how to fix radiator leak
Source: https://www.bestheating.com/info/how-to-fix-a-leaky-radiator/
Posted by: penafactere.blogspot.com

0 Response to "how to fix radiator leak"
Post a Comment